Tutorial - How to Decorate Apparel with Two Step Foil
Share
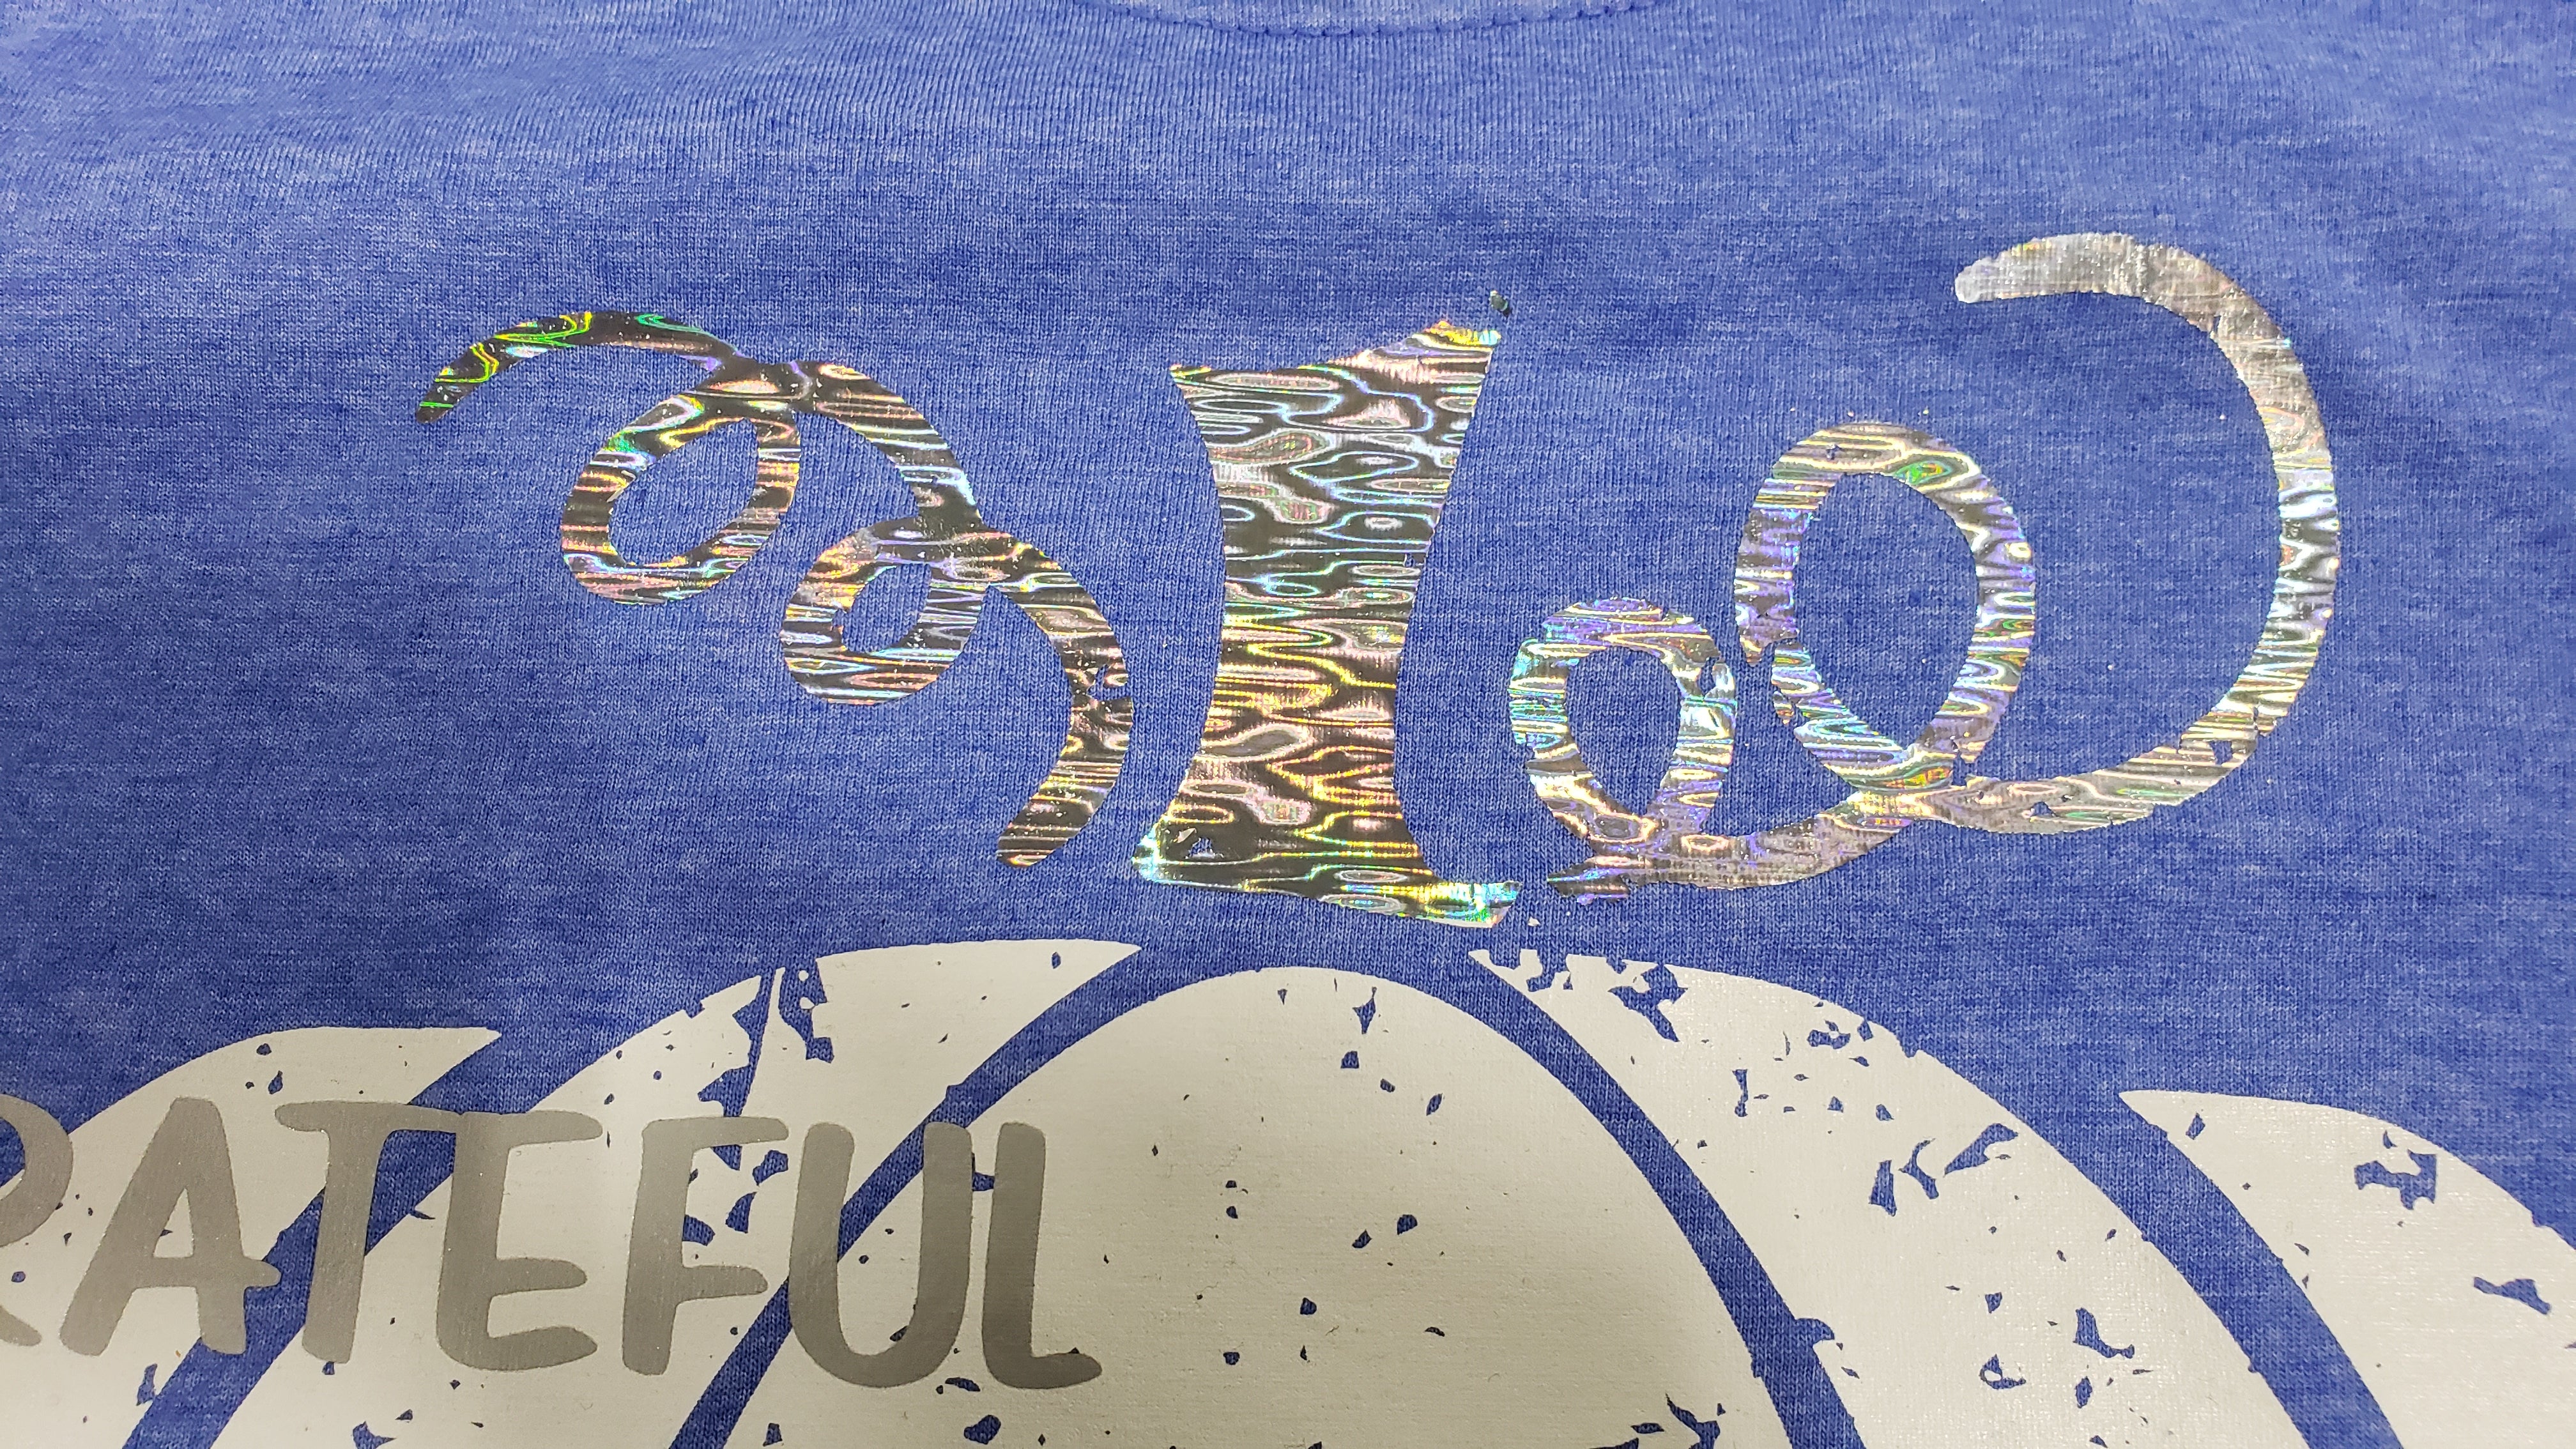
One of my favorite ways to decorate apparel is with 2-step foil! The reason is because the possibilities are endless on what you can do! With 2-step foil you use a clear adhesive or a screen print transfer and heat press that onto the garment and then you layer foil over to create a unique look.
1. Cut your design out of the adhesive or get your screen print transfer ready. 2. Apply your adhesive or screen print transfer to the garment.
For the adhesive, you will press at 300 degrees for 3-5 seconds with light pressure and hot peel.
For the screen print transfer, you will press based on the recommendations for the screen print transfer. Each transfer may have different instructions but in most cases you will press around 325 to 375 for 7 to 10 seconds with very firm pressure and a hot peel.
3. Layer the foil over the adhesive or screen print transfer. See effects below for ideas on how to customize your look!
Press at 300 degrees for 8 to 10 seconds with very firm pressure. Peel cold. The foil must be completely cool or it may not stick in certain spots.
4. Press a final time for 5 seconds after covering the design with a carrier sheet to achieve a more matte look. This will also ensure that the final product looks closer to what it will look like once the garment has been laundered.
Here is a video showing the process. In the video, I show effects #2 and #3 as explained below. You can also mix effects as well to create unique looks. The possibilities are endless!
Effect #1 - Standard Foil Application
With this method, you get one all over foil look. If you haven't used foil before, this is a great place to start. You can still get some really cool effects using some of our pattern and holographic foils!
For this effect, you will press the heat transfer adhesive (or screen print transfer) and then layer one sheet of foil over the entire design.
Effect #2 - Distressed Two Color Application
With this effect, you will need 2 different sheets of foil. Once you press your adhesive or screen print transfer you will take one of the two colors and crinkle up the sheet to create voids in the foil. When you press the foil it won't stick in those areas to create a distressed look.
After pressing the first layer and letting it cool completely, you will take the other sheet of foil and cover the design and press again. The 2nd color of foil will fill in the voids from the first color to create a unique two color distressed look.
If you don't want to use 2 colors, you can distress with the first color and then the shirt color will show through in the voids. You can also experiment with how much or how little crinkling you do to see how it changes the look.
I personally like to do more crinkling so that both colors show really well. Normally if you only crinkle a little bit, the first color that you are crinkling will show up more than the second color.
Effect #3 - Multi-Colored Pieces Application
For this effect, you can use as many colors of foil as you want. Basically the idea is you can cut the sheets of foil into pieces and place them over the design in a variety of ways. You could overlap pieces randomly to create a mosaic look. You could also alternate strips to create a striped look. Another option would be you could cut pieces of foil to cover each letter or different areas of the design so that you can do a multi-colored layer design without having to actually layer each part.


1 comment
Jesse – love the outcomes from using the foil sheet! Great tutorial!!!
-Donna